Self Study 5 and The Final Tutorial! | KIT207 Portfolio
Self Study 5 and the Final Tutorial! | KIT207 Portfolio
By Cailean Treloyn or "EeE"
Welcome to the finish line! This is the last self-study and tutorial for this unit, but do not worry, new games will come soon (as soon as games go), including the collaborative STILTS and Independent Is That Your Cat.
So, what did we get up to this week? Lighting and Shadergraphs are shaders layered on top of a 3D model to make some cool effects.
I tackled Lighting first. Lighting is integral to many different art forms, including drawing, films and video, cinema, animation and, of course, games. It's an art in its own right, with different aspects helping to convey (for games specifically) emotions, tone and theme.
Right now, though, I just did a quick demo. I followed this tutorial by Brackey, which I very much recommend.
It's very easy to follow and delves into baked lighting, a technique where you render the light ahead of time, so it is not demanding on systems. This means things like shadows and moving objects won't update how the light interacts, which is kind of a bummer, but it allows for some high fidelity and pristine lighting. There is also real-time lighting, which is much more intensive but gives things like players shadows under the correct circumstances.
Using a sample scene, I was able to follow along pretty easily, including the process for getting the lighting to work, how to tweak settings, and how to make my GPU explode- all good things. Also, a very small brief intro into materials and post processing (aka special effects) such as bloom, which I was able to incorporate from KIT109 which made that pretty neat.
Next, there is another tutorial that was created by Brackey going into shader graphs, as said before these create effects which can be placed on models to create some cool looking stuff. I've had some experience with blender shaders before, but not all of it was transferable. (My beloved colour ramp node) Following this tutorial introduced me to some new nodes as well, like time and frenel, which I had not used previously.
I followed this tutorial and placed it in the same scene as the lighting to make this funky neon light scene.
After completing this, I needed to apply these experiences to my latest game scene. This was the scene before I added in new lighting techniques.
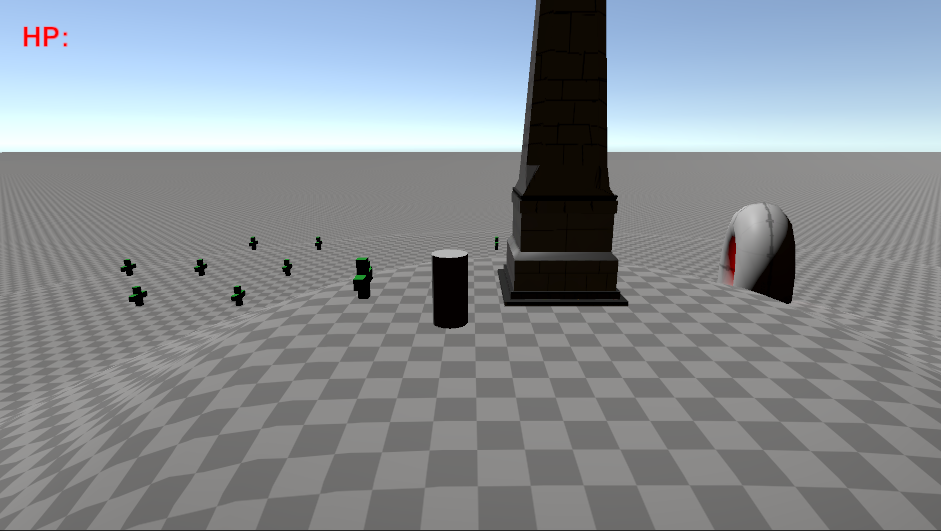
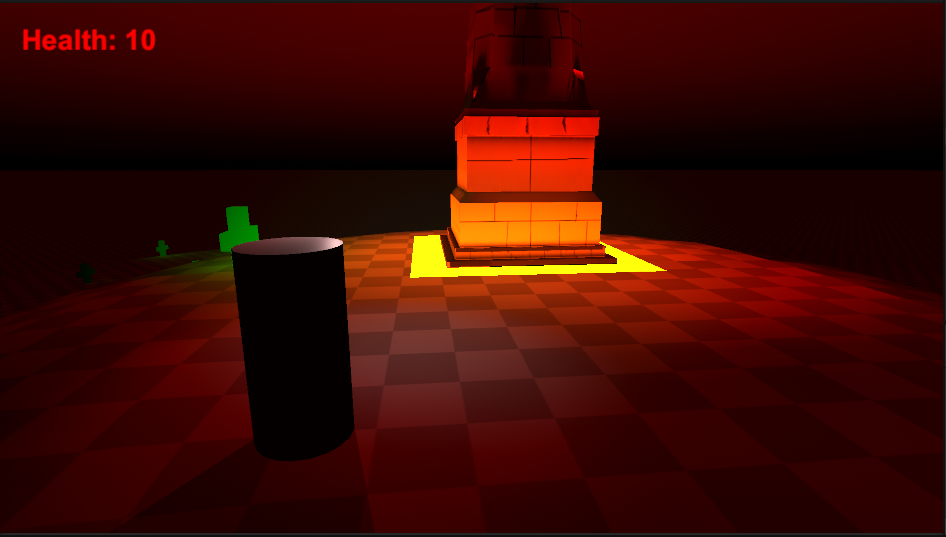
It looks quite bland and ugly. So, applying these techniques I learnt, I created this.
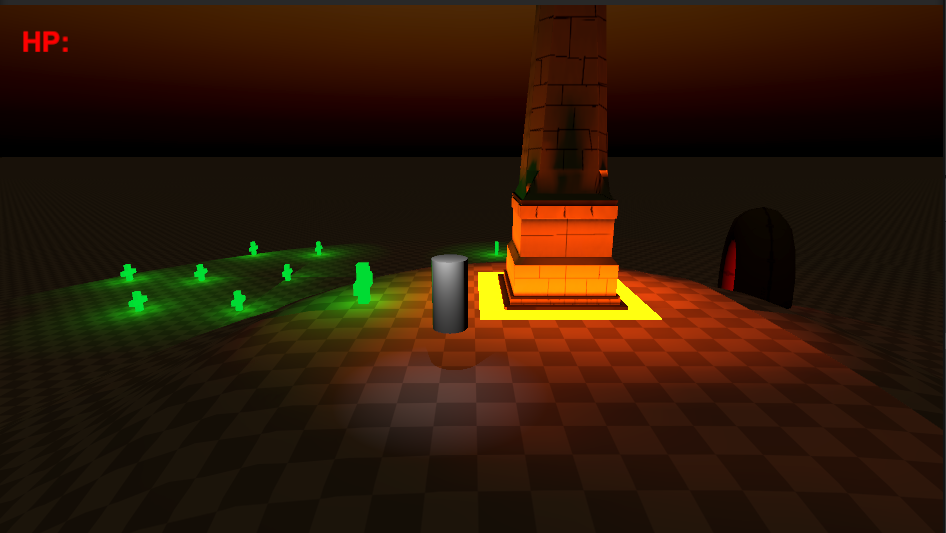
In order of cool factor. I did the cenotaph using baked lighting; this way, I could get some nice quality shading on it. I was inspired by the lighting present at the monument in real life. That was the only baked lighting in the scene. I then did some point lights as children of the healthpacks, so that a green glow. They are in real time, so when they are picked up, the glow vanishes, adding a bit of reaction. I then created a new skybox material and tweaked it to look kind of like nighttime.
I added a point light to give the character object some light and shadows, so you can see. Aswell as a light in the dount, for a threat.
The last thing I did was add a spotlight to the enemies, but I jacked up the intensity, creating this moderately terrifying scene.
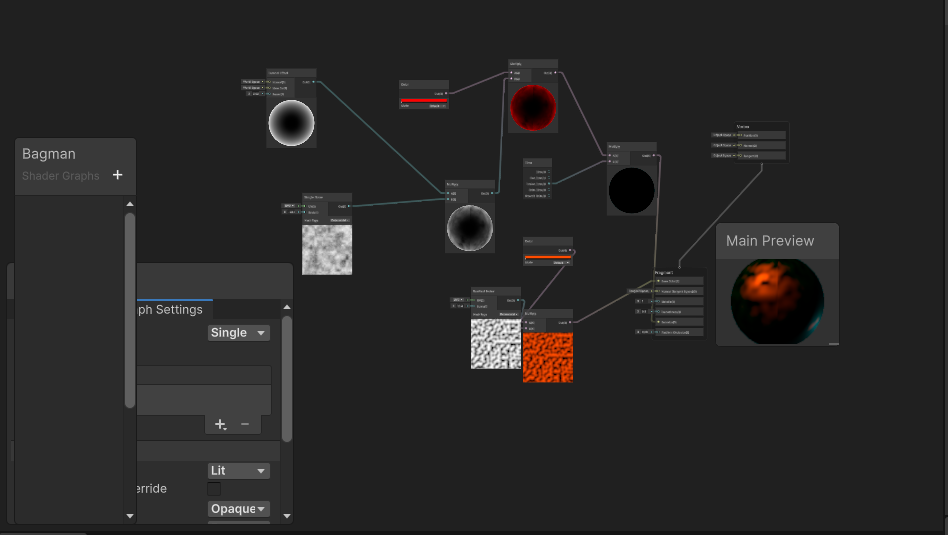
I then tweaked it to make it slightly better. As well as making my own "custom" shader, attempting to make something like lava and placing it one the enemy might've made them more demonic, though. I wanted to try using noise textures, but this will need some refinement.
Next up is the tutorial work; this will involve upping the camera and some post-processing.
First off is the Cinemachine Camera. Cinemachine is a super cool add-on in unity that adds a huge amount of functionality to cameras, which is pretty amazing. First off, I created a better third-person camera for the player. although it was a tad more complicated, this new approach means no bugging out when the player is destroyed, which is good. (Although less funny). It runs a lot smoother, as the camera eases in and out, and moves a bit more to give some more reactivity. (Via having a deadzone, look ahead as well as the third person component for the general functionality. (for the unity-knowing folks))
I think it looks much better and is very cool.
Next up was to make a birds eye view camera, which I then enhanced to track the player from a distance on a dolly track. But we have two cameras, which does it use? Well, by using a built-in component of the cinemachine camera, I can set up an area where when the player enters, it switches camera, and vice versa. The camera will attempt to follow the best it can while on the dolly track, meaning as I go around the cenotaph so will the camera, although it is a little bit janky, I haven't managed to get the damping and smoothness to correct yet :v.
After this, the last camera experiment I did was a target group camera, which basically it just tries to keep specific objects in the frame, in this case the player and a set of enemies. It's got some debugging on the screen cause I haven't actually set it to be the main camera, I just forced it for the demo. :)
Now, to make it look fancy I will engaging with post processing, aka after-effects or composting or what not, Make it look nice!
First off, I added a post processing layer, then a profile to house all of my various effects, globally (means always applied (i think)?) Gave it a lot more a sinister, and darker feel using a vignette, with is colour set to red then I turned up the blending to make it look like it was slowing creeping in rather then a hard edge.
Next up, I wanted to give my emmisive objects a bit more of a kick. I did this by adding a bloom effect, although..it uh went a bit awry.
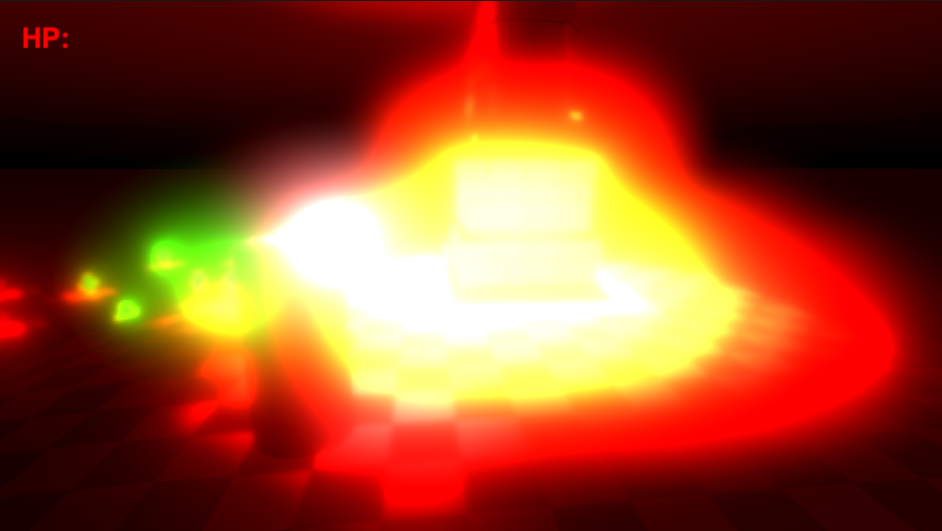

So, I toned that down safe to say. To something more like this.
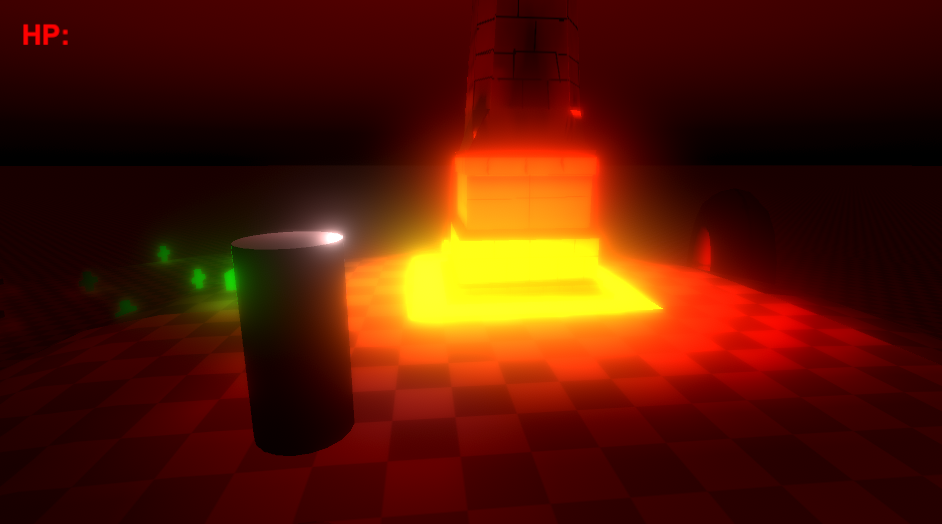
Still quite bright, but it helps to enhance the emmisve light.
Next, I created a local area effect, in this case the area would significantly darken. This uses inbuilt (from cinemachien) things to apply a post processing volume to an area of the map.
Its giving horror, silent hill vibes, very dark indeed!
Last thing I did was add, a grayscale mode it was a pretty interesting introduction into creating custom effects. (Thank you ian). Using some super amazing C# I put some tweaks in combined it with my bloom to really go into that slient hill/fogcore vibe!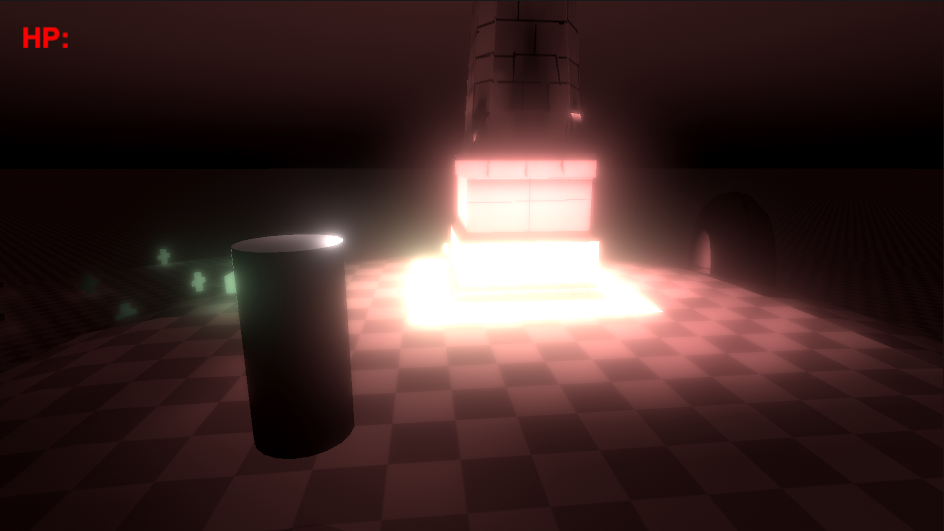
That about raps up this set of tutorials, thank you for looking, viewing and following my experiences, ramblings and ability to get work done late at night! I hope you follow my stuff onwards, I will endeavour to release another game.
References:
https://tenor.com/en-GB/view/reaction-my-eyes-cant-unsee-burn-gif-7225082
Leave a comment
Log in with itch.io to leave a comment.